Aurora Photography Guide: Cameras, Settings & Best Locations
What camera settings should I use for aurora photography?
Start with ISO 1600–3200, aperture at your lens's widest setting (f/1.8–f/2.8), and a shutter speed of 10–20 seconds. Use manual focus set to infinity. Adjust ISO and shutter speed based on aurora brightness — faster-moving aurora needs shorter exposures to avoid blurring the structure.
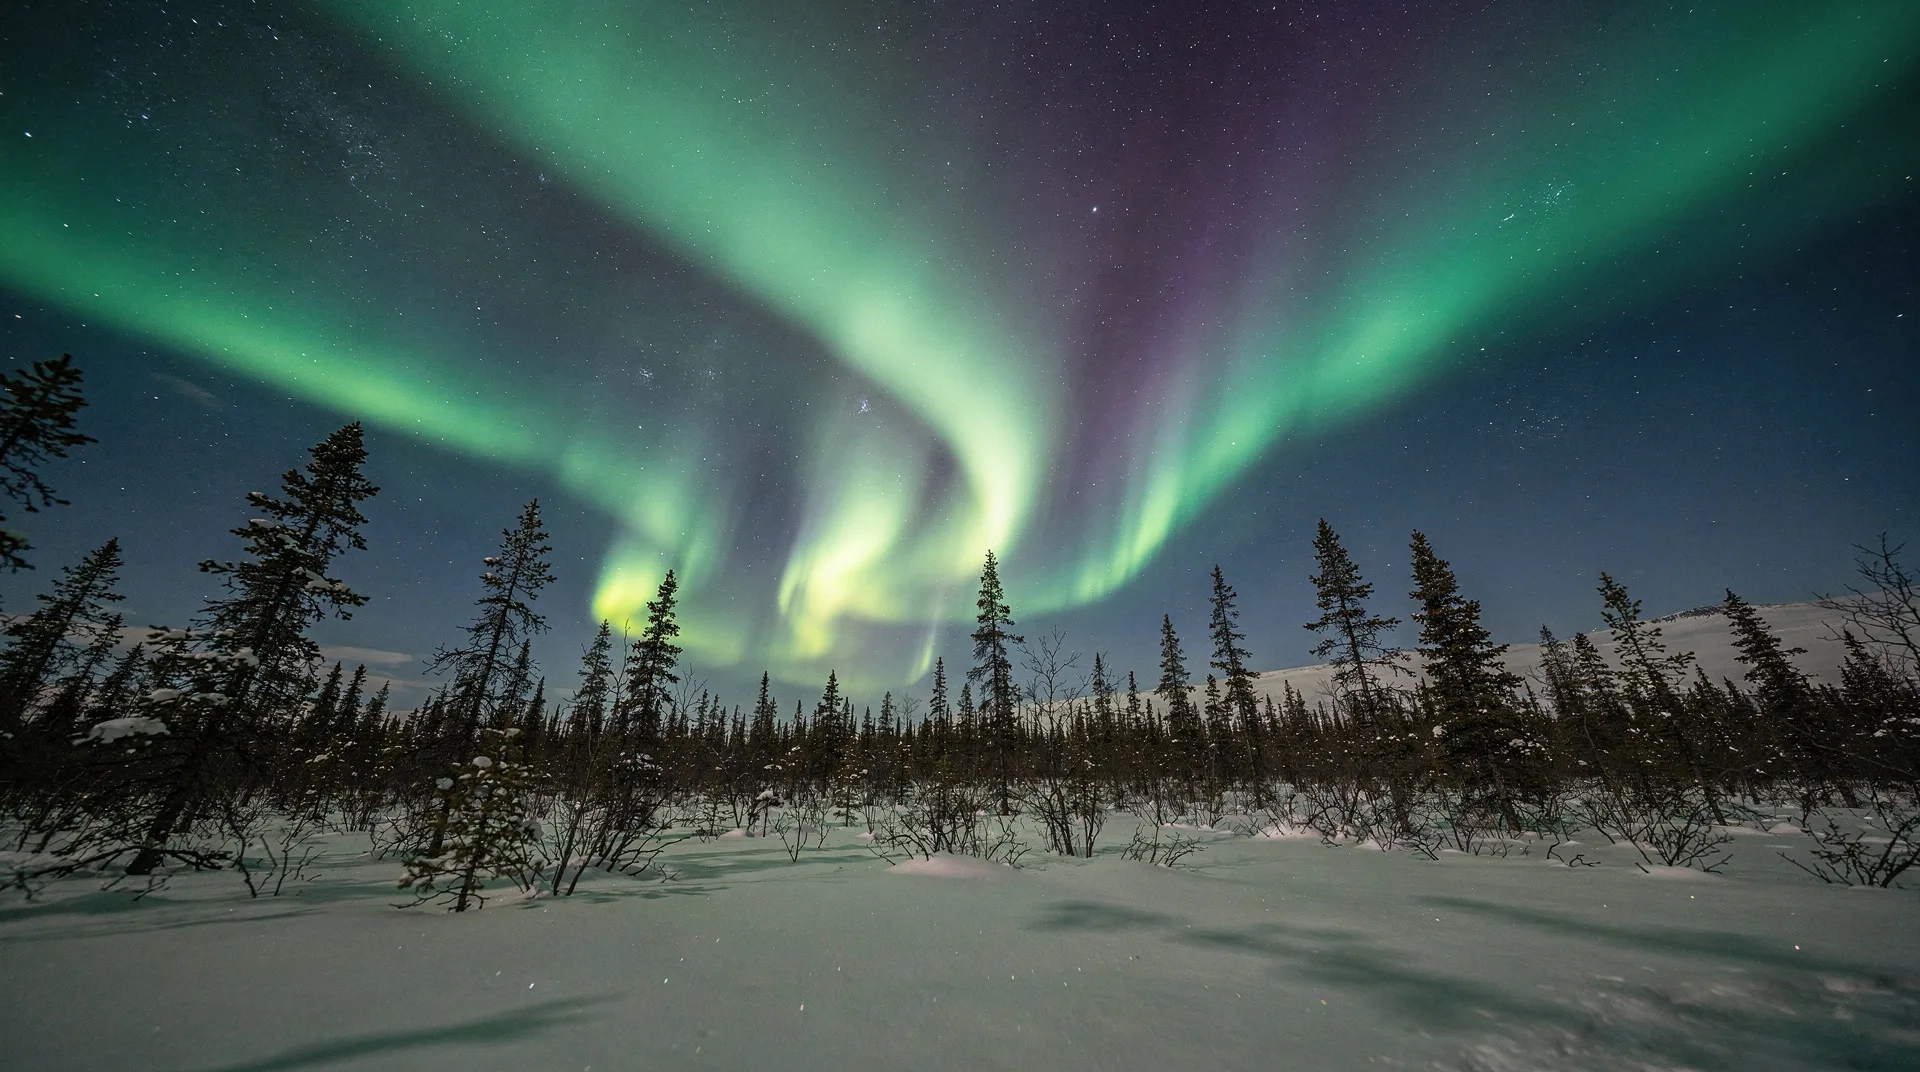
Aurora photography is more accessible than most beginners expect. A mirrorless or DSLR camera with a wide-angle lens, a tripod, and an understanding of a handful of settings is enough to produce images that capture what you’re seeing — and sometimes show colours that the human eye, less sensitive to certain wavelengths than camera sensors, doesn’t fully register. The aurora borealis photographed at ISO 3200 often reveals reds and purples invisible to the naked eye in the same moment.
This guide covers the full aurora photography process — equipment, settings, locations in the Canadian North, cold-weather technique, and what to do when conditions change rapidly. It applies specifically to northern Canada destinations: Whitehorse and the Yukon, Yellowknife and the Northwest Territories, and the wider northern arc from the Dempster Highway to the western Arctic.
Equipment: what you actually need
The camera
Any interchangeable-lens camera produced in the last decade can capture aurora. The key specifications:
Manual exposure control: Absolutely required. The camera must let you set ISO, aperture, and shutter speed independently.
Bulb mode or exposures to 30 seconds: Most aurora exposures fall between 5 and 30 seconds. Standard DSLRs and mirrorless cameras have this range.
Noise performance at high ISO: Modern cameras handle ISO 3200 very well; even ISO 6400 is usable on most current models. Full-frame sensors have an advantage over crop sensors at high ISO, but crop sensors work fine.
Recommended categories: Any current Sony Alpha mirrorless, Nikon Z series, Canon R series, or their DSLR predecessors from 2015 onward will produce excellent results. Smartphone cameras have improved dramatically — iPhone 15 Pro and equivalent Android flagships can capture aurora in dedicated night mode, though with less control and detail than dedicated cameras.
The lens
Wide-angle is essential — aurora fills the sky, and a wide field of view captures the full extent of the display including foreground that provides scale and context.
- Full-frame sensors: 14mm–24mm recommended; 20mm is a versatile standard choice
- Crop sensor (APS-C): 10–16mm recommended
- Fast aperture: f/1.4 or f/1.8 if you have it; f/2.0–f/2.8 is entirely workable
A fast aperture allows shorter shutter speeds, which is important for capturing the fine structure of active, fast-moving aurora without blurring.
The tripod
Non-negotiable for exposures of 5+ seconds. The tripod must be stable enough to resist wind at -30°C. Carbon fibre tripods become brittle in extreme cold; aluminium is more reliable. All tripod locks must be checked for cold-weather performance — lubricants and rubber components degrade in cold.
Don’t forget: A remote shutter release or self-timer (2-second delay) prevents camera shake from your hand pressing the shutter button.
Cold-weather accessories
Extra batteries: Cold dramatically reduces battery life. A battery that lasts 500 shots at 20°C may last 80 shots at -30°C. Carry two spares inside your jacket (body heat keeps them functional), rotate them every 30–45 minutes.
Lens heater or hand warmer: Prevent condensation or frost on the front element. Compact electric lens warmers powered by USB battery banks work well. Avoid breathing on the lens.
Hand warmers: Keep in gloves between camera adjustments; cold fingers lose dexterity within minutes at -25°C.
Camera bag with insulation: When moving from cold to warm (vehicle to hotel), keeping the camera in a bag prevents condensation from forming on cold metal and glass. Allow the camera to warm slowly in the bag.
Browse Yukon aurora photography tours with guides who provide shooting instructionCamera settings: the complete reference
Exposure triangle for aurora
Aurora photography operates in the dark end of available-light photography. The three variables — ISO, aperture, and shutter speed — must be balanced against two aurora-specific considerations: capturing enough light to show the aurora, and keeping exposures short enough that fast-moving structure doesn’t blur into a smear.
ISO: Amplifies sensor sensitivity.
- Faint aurora (barely visible arc): ISO 3200–6400
- Moderate aurora (clear bands and colours): ISO 1600–3200
- Bright, active aurora: ISO 800–1600
- Explosive overhead display: ISO 400–800
Aperture: Use the widest (lowest f-number) your lens allows.
- f/1.4: Maximum light, slight vignetting on some lenses
- f/1.8: Excellent performance on modern lenses
- f/2.0–f/2.8: The standard working range for aurora
- f/4.0 and narrower: Requires significantly longer exposures or higher ISO — use only when depth of field is needed for foreground
Shutter speed: Controls exposure duration and aurora sharpness.
- Still, faint aurora: 20–30 seconds
- Active bands: 10–15 seconds
- Fast-dancing aurora: 4–8 seconds
- Explosive overhead bursts: 1–4 seconds
A starting point that works in most conditions: ISO 2000, f/2.0, 15 seconds. Evaluate the result, adjust up or down.
Focus
Manual focus at infinity is the only reliable approach in dark conditions. Autofocus fails on a featureless dark sky.
Setting manual infinity: In daylight or on a bright artificial target, switch to manual focus and turn the focus ring to the infinity mark. Confirm sharpness by zooming into a distant point (a mountain edge, a treeline against the sky) in live view. Mark the focus ring position with a small piece of tape so you can return to it in the dark.
Alternative: Focus on a bright star or the moon using live view zoomed in 10x, then confirm sharpness before the aurora appears.
White balance
Auto white balance renders aurora accurately in most cameras. For more creative control:
- Daylight (5500K): Produces warmer tones
- Tungsten (3200K): Renders the aurora’s greens more saturated against a blue-shifted sky
- Custom: Experiment in post-processing — shooting RAW allows white balance adjustment without quality loss
Shooting RAW is strongly recommended for aurora photography. The additional post-processing flexibility — especially for shadow recovery and colour grading — makes a significant difference.
Best aurora photography locations in northern Canada
Whitehorse and the Yukon
Alaska Highway west of Whitehorse: The most accessible dark-sky direction from Whitehorse. Drive 20–30 km west; the city’s light dome drops below the horizon. Pullouts provide open sky views. The highway itself as a foreground element — long exposure car trails if traffic exists, or simply the road receding to darkness — provides compositional interest.
Tombstone Territorial Park (Dempster Highway km 71): The Tombstone Mountain silhouette against aurora-lit sky is one of the most dramatic aurora compositions in the Yukon. Drive 71 km up the Dempster from the junction; the mountain is visible from the interpretive centre parking area. No light competition within 200 km.
Fish Lake south of Whitehorse: The lake surface in winter provides foreground — reflected aurora in open or recently frozen sections, ice patterns when fully frozen. 22 km from downtown.
Kluane Lake (Alaska Highway west of Haines Junction): At 220 km from Whitehorse, the drive is longer, but the combination of Kluane Lake’s scale and the St. Elias Mountains silhouette behind it creates foreground unavailable closer to the city. Stay the night in Haines Junction and walk to the lakeshore.
Yellowknife and the NWT
Tibbet Lake area (30–40 km east on Ingraham Trail): The boreal forest framing open sky, with lake foreground in multiple directions. Most Yellowknife tour operators use this zone. Excellent for compositions with spruce silhouettes and frozen lake surfaces.
Great Slave Lake ice: Drive the ice road toward Dettah in winter. The open frozen lake in every direction provides a 360-degree aurora horizon — the aurora reflected in glassy new ice sections is spectacular. Flat foreground allows perspective compression of aurora overhead.
Prelude Lake Provincial Park (28 km east): Designated dark-sky recreation area; lake foreground and minimal interference. A good DIY location for self-driving aurora seekers.
Dempster Highway Richardson Mountains: En route to Inuvik, the Richardson Mountains section of the Dempster provides high-altitude (600–900m) dark sky with mountain terrain foreground. Zero light pollution within 400 km. The stars are extraordinary here alongside aurora.
Book Whitehorse aurora borealis tours including photography guidance and dark-sky transportUnderstanding aurora colour and what the camera sees
Human eyes are most sensitive to green wavelengths; green aurora is the most commonly perceived colour because the atmospheric oxygen at 100–150 km altitude emits most strongly in the 557.7 nm (green) wavelength. Red aurora — oxygen at higher altitudes (200–300 km) — appears at the tops of tall auroral structures and is often invisible to the eye but recorded well by camera sensors. Blue and purple from nitrogen emissions appear at the base of bright forms.
This means aurora photographs often show more colour than you directly perceived. Do not be disappointed if your night seemed predominantly green-and-grey visually — the RAW file may reveal pink, red, and purple that the eye suppressed.
Post-processing: In Lightroom or similar RAW processors, adjusting the Hue-Saturation-Luminance sliders for green and aqua brings out aurora structure. Shadow recovery in the foreground preserves the dark landscape detail. Clarity and texture adjustments enhance cloud-like aurora texture without introducing artefacts. Avoid over-processing — the appeal of aurora photography is its documentary quality.
Cold-weather shooting technique
Staying warm enough to shoot
Aurora photography in January Yellowknife at -30°C involves standing still in the dark for 2–4 hours. This requires proper clothing regardless of photographic ambition.
Critical: boots. Feet lose heat fastest when standing still on snow. Insulated boots rated to at least -40°C are the single most important gear item. Standing in inadequate footwear at -30°C produces frostbite conditions within 30 minutes. Aurora tour operators typically offer gear rental — use it if your boots are insufficient.
Mitts, not gloves: mitts are significantly warmer for extended cold exposure. Use thin liner gloves for camera manipulation moments and full mitts at all other times.
Hand warmers inside mitts: Chemical hand warmers (HotHands or equivalent) inside the mitts maintain enough heat for comfortable camera operation.
Camera operation in the cold
- Keep the camera outside (inside temperature causes condensation on cold glass)
- Store the lens hood on to prevent the front element from frost
- Use a right-angle viewfinder adapter if shooting at low angles on ice — crouching face-down on -30°C snow is brief in duration
- Use live view for composition rather than the optical viewfinder — easier with mitts
When the aurora appears
Active aurora changes shape every few seconds. Composition that worked 3 minutes ago may be completely different now. Develop the habit of reviewing composition frequently and shooting continuously during active periods rather than being deliberate at the expense of missing the peak.
Related guides and content
For the best aurora viewing locations and timing across northern Canada, see the best time to see the aurora in northern Canada guide. For Whitehorse-specific aurora planning, see the Whitehorse aurora viewing guide. For Yellowknife, the Yellowknife aurora guide covers tour operators, dark-sky sites, and logistics.
Frequently asked questions about Aurora Photography Guide: Cameras, Settings & Best Locations
Do I need a full-frame camera for aurora photography? No — modern APS-C (crop sensor) cameras produce excellent aurora images. The advantage of full-frame is cleaner high-ISO performance, which is meaningful but not essential. A crop-sensor camera with a fast wide-angle lens and good high-ISO handling (any Sony APS-C, Nikon APS-C, or Canon APS-C from 2018 onward) will produce images that distinguish themselves in the field.
Can a smartphone capture the aurora? Modern flagship smartphones (iPhone 15 Pro, Samsung S24+, Google Pixel 8) can capture aurora in night mode — particularly on stronger displays. The results are good enough for social media and personal record purposes but lack the RAW flexibility and low-light performance of dedicated cameras. For serious photography, a dedicated camera is worth bringing.
What app should I use for aurora forecasting? NOAA’s Space Weather Center (swpc.noaa.gov) provides the authoritative data. Aurora forecast apps (My Aurora Forecast, SpaceWeather) aggregate this data with user-friendly displays showing KP index predictions, short-term activity alerts, and historical data. The 27-day forecast is directional; the 1–3 day forecast is planning-relevant.
How do I prevent my batteries dying in the cold? Carry 2–3 batteries. Keep inactive batteries in an inside jacket pocket, close to your body. Rotate every 30–40 minutes. Warm batteries that reach low charge by holding in your hands for 2 minutes before reinserting — this often recovers 10–15% more capacity.